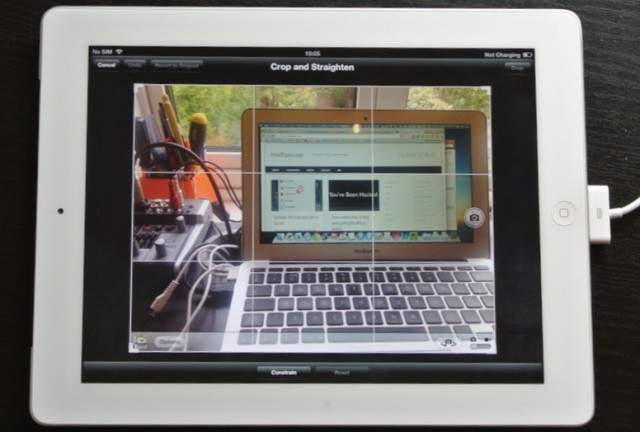
This quick guide will talk you through the simple process of cropping a photo that you’ve taken on a iPad. Hopefully you’ve mastered how to take a photograph although feel free to get in touch if this is causing you grief. You will probably want to crop a photo as something may have crept into the frame which is spoiling an otherwise beautiful shot. Alternatively you may have already taken a photo and wish to share a particular element of that shot.
Luckily for you the Photos App has a very easy to use feature which allows super quick and easy editing of photos which you’ve just taken. Follow the steps below to get started:
1. Take your photo
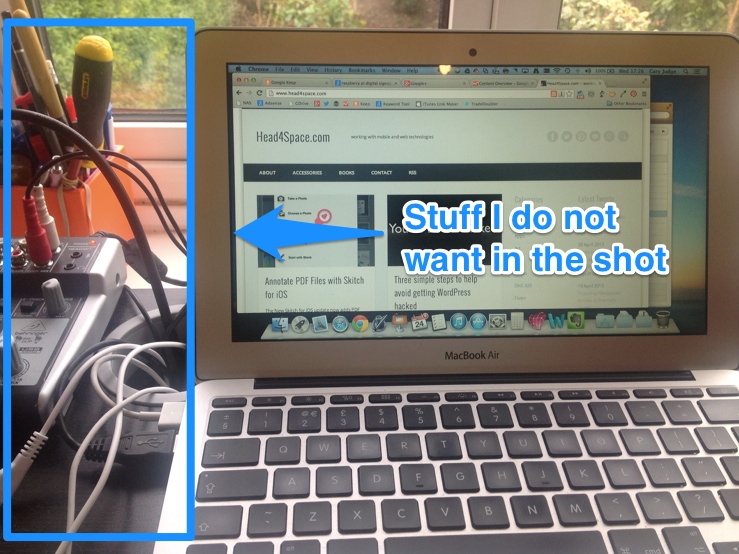
2. Once your photo has taken open it within Photos
3. If it is not revealed press on the photo to reveal the menu along the top
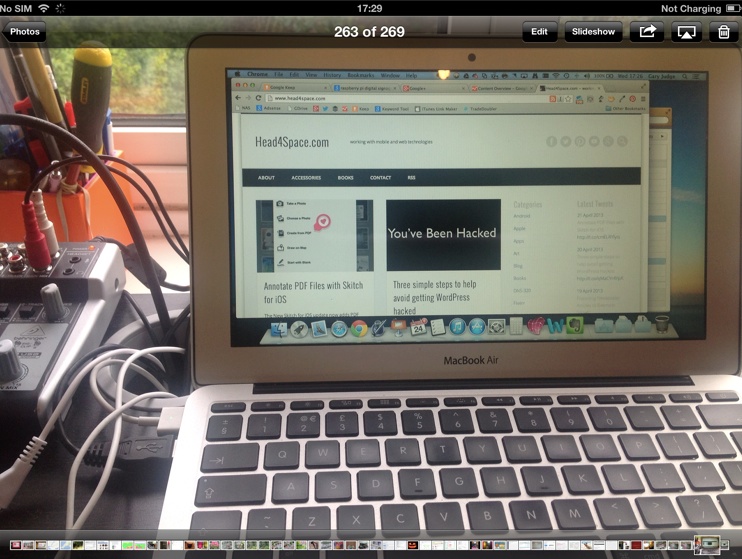
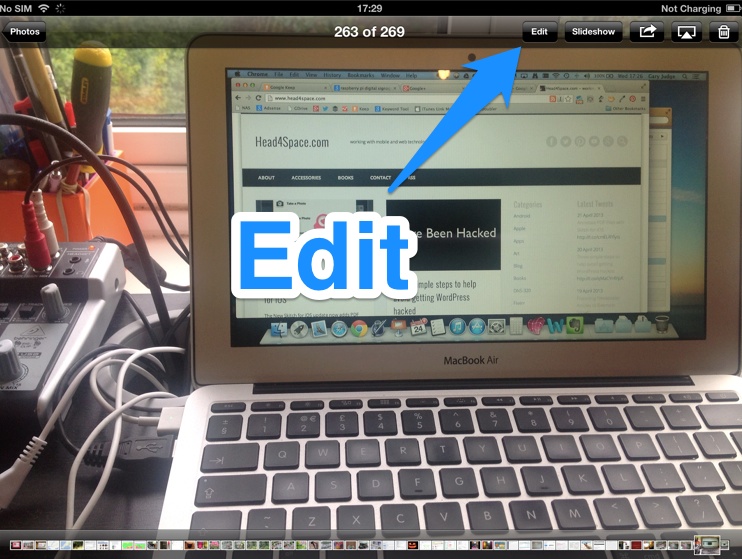
4. Press “Edit”
5. Now Press “Crop”

6. Adjust the region you wish to keep. The area which is dark will be removed
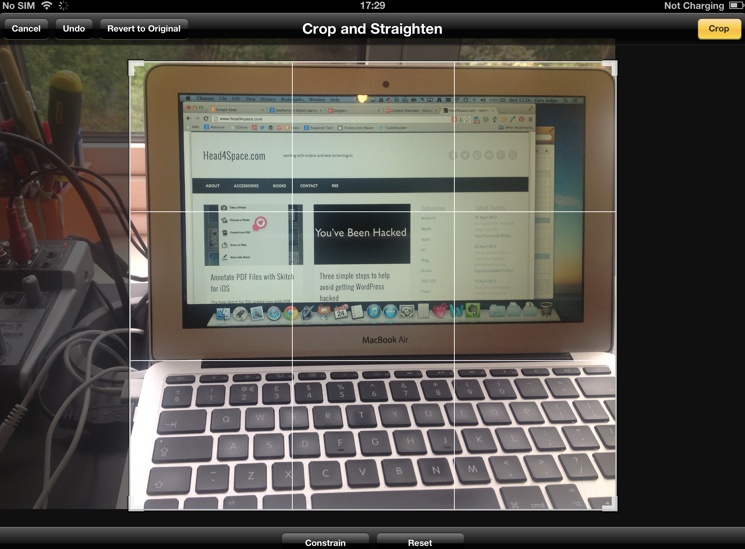
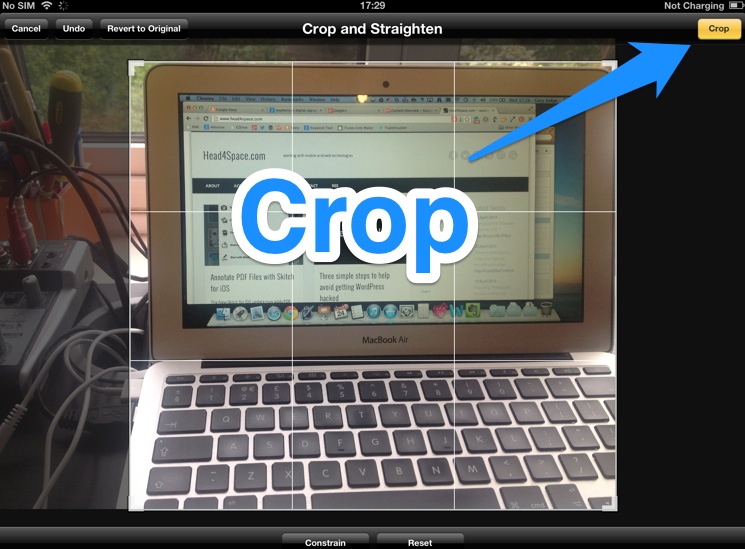
7. Press “Crop” in the top right hand corner
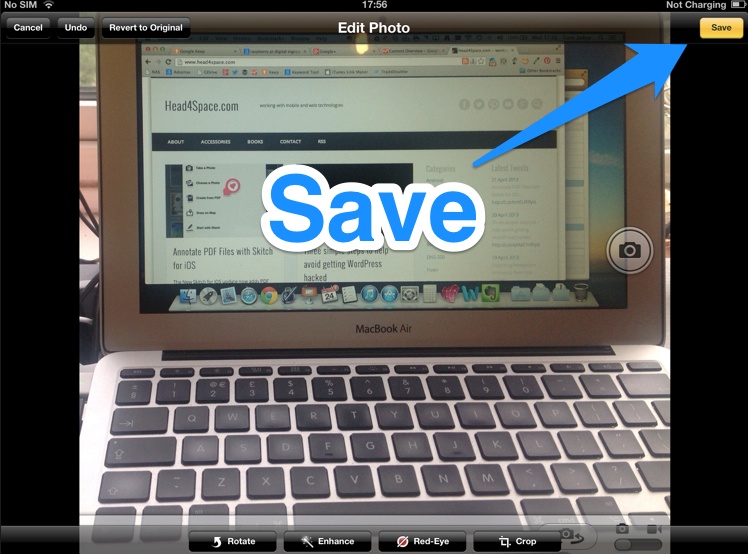
8. Finally Press Save
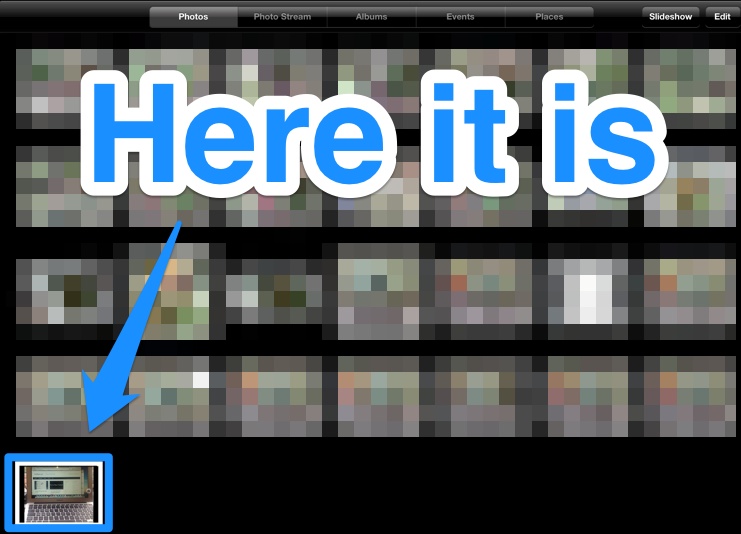
9. You will now see that your cropped photo appears within the Photos App ready for you to enjoy later or email to a friend.
So that shouldn’t have been too much bother. If you do not have an iPad and are doing a bit of research about the tablet then please spend some time looking at my other posts. If however you are an Android user, the latest version of Jelly Bean has these kind of features too. Please let me know if you found this useful or if you would like to see other parts of iOS or Android explained on this blog.
Happy snapping.
No Responses