
This short guide will show you how to set up your DLink DNS-320 so that you can save and copy files to and from it using WebDav. This is particularly important if you want to use this with an iPhone or iPad as there are a number of WebDav compatible apps out there.
The DNS-320 is an inexpensive NAS capable of running two 2TB HDD’s either as a mirrored pair or as two separate volumes.
Before you start you will need to have updated to the latest firmware. This can be found here: ftp://ftp.dlink.co.uk/dns/DNS-320/firmware/DNS-320_A1_2.02b01.zip
With that out of the way follow these steps:
1. Log into your NAS and if prompted select Configuration
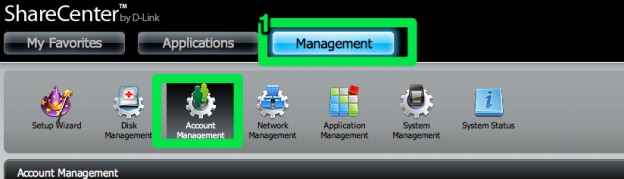
2. Press Management Button along the top and then the Account Management icon
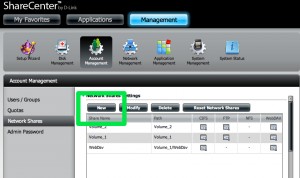
3.Now click on Network Shares (on the left hand side) and then New
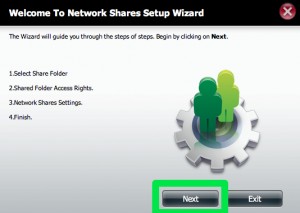
4. Click Next
5. Select the folder you wish to setup as a WebDav Share then click Next

6. Now decide which accounts can access then click Next – I’ve gone for all as I only have one account setup
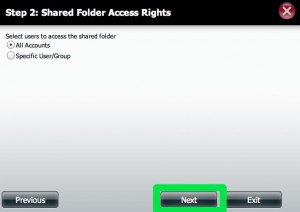
7. Assign Read / Write access rights then click Next
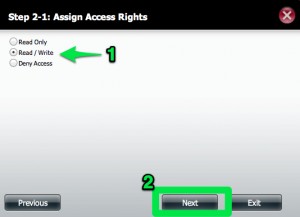
8. Click Next again…
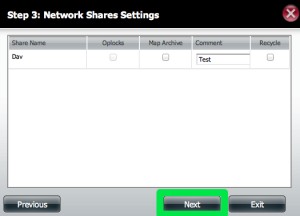
9. Set the WebDav privileges to the share and then click on Next
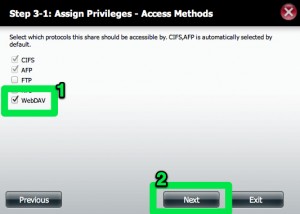
10. Setup WebDav Settings so you can Read and Write to it then click Next

11. Now we are Finished
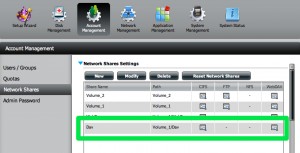
12. You should now see the share setup with WebDav enabled
13. Right, with that all done it’s time to move to the iPad to configure an app to access. I’m going to use Pages for this bit, but you could just as easily use something else.
14. From within Pages click on the plus sign in the top left hand corner and then select WebDav
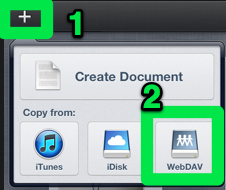
15. You will be prompted to insert your URL, username and credentials for the WebDav share you have just created. You will need to make sure that you use the web address of your NAS, then webdav plus the share name.

16. With that done you should be able to see any files that are in this share and start manipulating documents from within Pages.
Here is a vide which shows this being setup:
5 Responses
I have a total different appearance of Account Management from yours, though same model.
Mine only one Volume, not able to create volume_2 or WebDav, what is the trick? I have two bay installed HDD, and format to Raid 1, so only Volume_1
Have you updated to the latest firmware? My drives aren’t in an array that’s why there are two volumes.
Good Tutorial. A little bit painful because I didn’t put webdav between address and share name.
But now is working great.
Thanks
Awesome, thanks a lot!
No problem. Glad to be able to help you out.