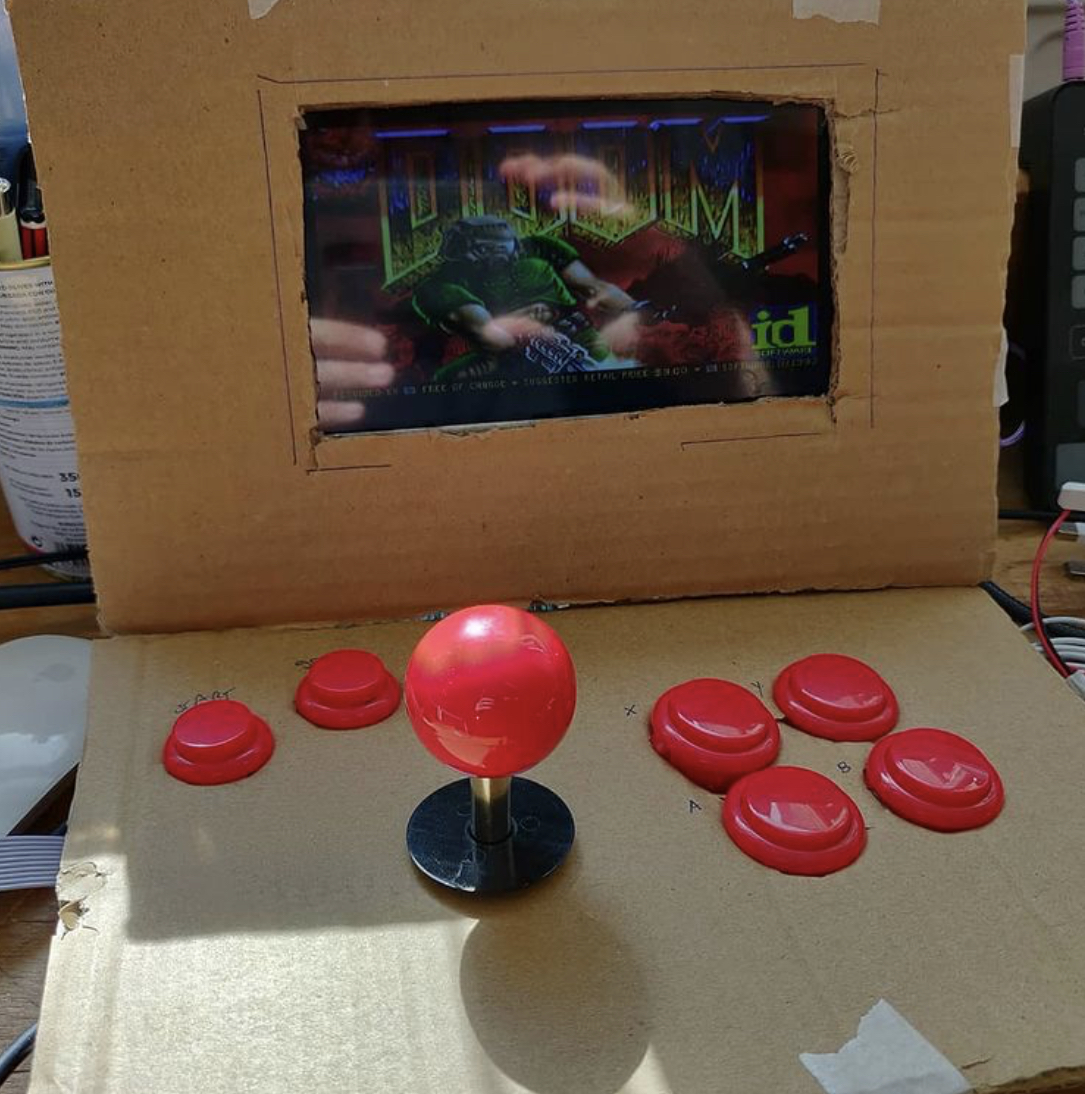
I’ve decided to design and build a 3D printed tabletop arcade machine using a Raspberry Pi 4. So far I have the concept in my head, a Raspberry Pi 4 (awaiting SD card) and a 7” LCD display on order. I also have an arcade joystick with micro-switches which I’m going to salvage from a previous attempt at doing this project. Last time I was missing a vital ingredient – a 3D printer! So now, I will be designing a case for the Raspberry Pi, screen and joystick so that it all sits nicely on my desk for a bit of retro gaming.
Inspiration
This YouTube video has inspired me to resurrect the idea of making an arcade machine:
I’ve also had some great time playing on the ANBERNIC RG351P handheld console. This is a surprisingly powerful little machine, comes with a load of ROMs and an operating system suited to the handheld format. Because I’ve spent a load of time organising the ROMs, I now have a set which I can use with RetroPie and should (hopefully) work well on the more powerful Raspberry Pi 4.
Looking for Pi?
Due to current chip shortages there isn’t a whole load of Raspberry Pi stock available. However in the UK I have found that checking The Pi Hut and Googling around I’ve managed to pick up two 2GB RPi4’s. Seems the 4GB and 8GB options aren’t available right now. But if you are checking in the future, when chip shortages are not so impactful then you might have better luck than me.
Next Steps
Right, so when the micro SD card arrives I will be popping on RetroPie and configuring the ROMs / Joystick to function without a case. I will be designing a case – probably in AutoDesk Fusion 360, but possibly in Blender (as I’m trying to learn Blender right now) which will house everything. My current thinking is that rather than print thick walls, I will reinforce the 3D printed material with plywood I have already. This will also add some substance to the unit, so it can take a bit of a hammering for when I get a bit over exciting playing classic arcade games.
You can continue to follow this journey by going to Part 2 – which picks up from where Part 1 left off.

One Response
[…] Raspberry Pi Arcade Machine is now is it’s next stage as following on from Part 1, we now have the Micro SD Card and Heatsink case. So we can get on with building the brains of the […]