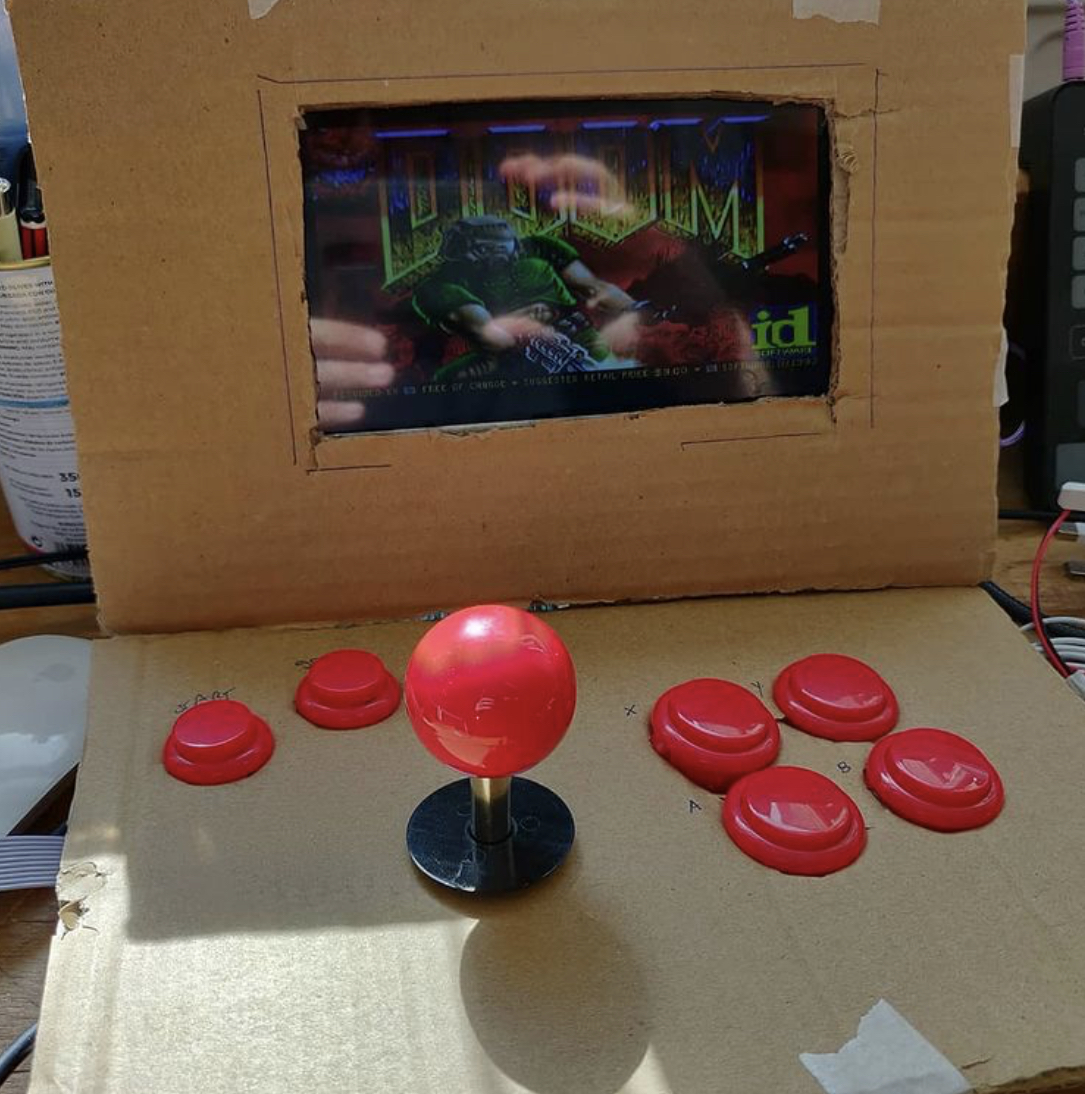
The Raspberry Pi Arcade Machine is now is it’s next stage as following on from Part 1, we now have the Micro SD Card and Heatsink case. So we can get on with building the brains of the operation. Right now this is what the Raspberry Pi 4 looks like:

Raspberry Pi Arcade – So what’s the plan?
The plan is to install RetroPie using the Raspberry Pi 4 image. To do this I’ll be running the Raspberry Pi Imager software on my Mac (there is a Windows version available). Then I’ll be doing some configuration of the Pi using an external monitor and USB keyboard.
In a departure from running this as a totally emulation focused device I intend to make the following tweaks – if possible.
- Connect a USB HDD to host games
- Connect to Wifi
- Enable SSH for remote administration
- Install MiniDLNA – to host music files for home streaming
- Install SMB or similar – to enable uploading of ROM’s
You see, whilst the Pi4 is not engaged in running games, I’d like it to be performing as a music file server – which I can use to stream to my stereo. I’d also like to be able to upload ROM’s without having to take everything apart, so may also try to run SMB, or something similar to get this going.
It’s unlikely that I’ll be playing games and listening to music from the Pi4 at the same time. And it makes sense to have multiple functions running on the single device, so this feels like a sensible dual function. However I’ve not tried to get it going – yet, so the plan may have to adapt.
Getting RetroPie Running
First things first, getting RetroPie up an running with one ROM copied onto the SD card is the first stage in this adventure. To do this I have Raspberry Pi Imager software already downloaded and ready to go on my Mac.
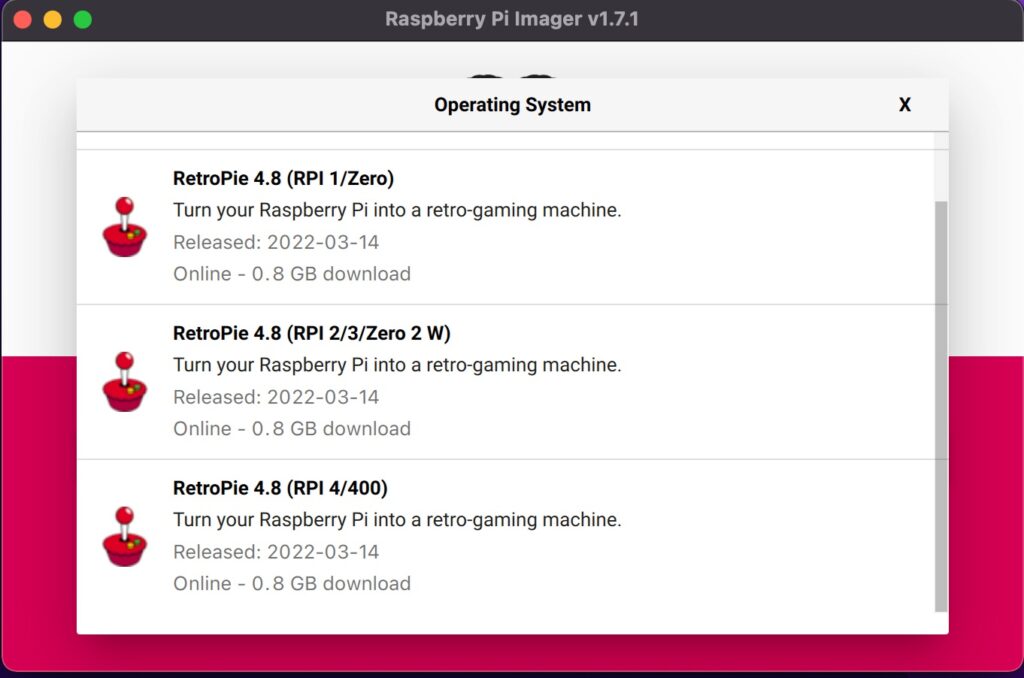
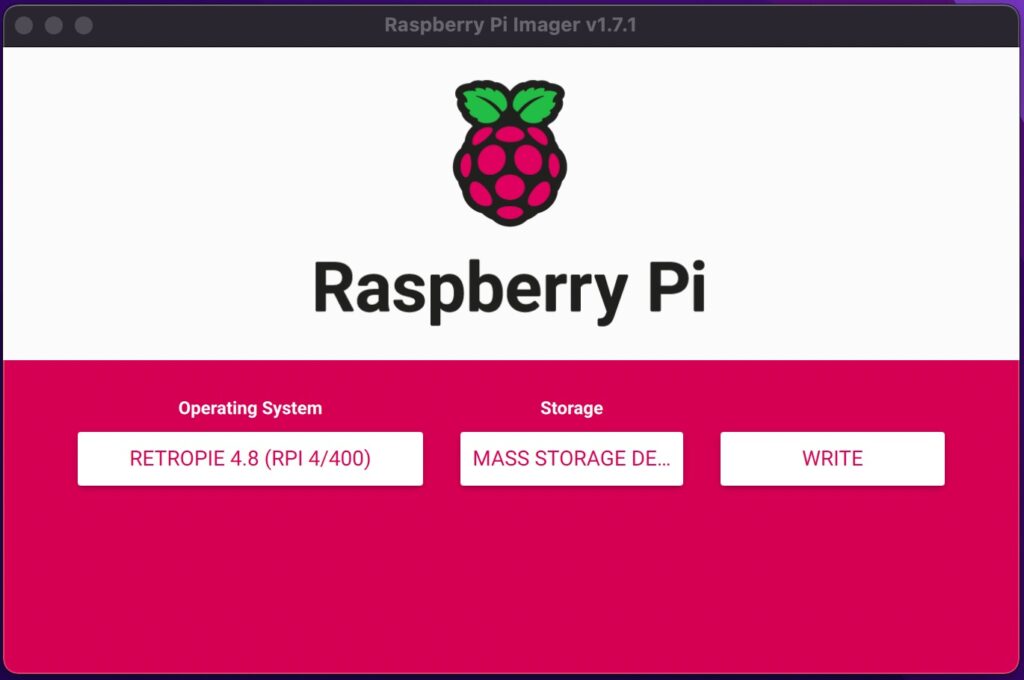
With the Micro SD card plugged in via a USB adpator to get the RetroPie installed is just a matter of picking the right image and selecting the SD card before pressing WRITE:
Getting Going With RetroPie
I’m not going to run through step-by-step exactly what to press and where, instead go over the steps I undertook to get my RetroPie running how I wanted.
To start with I needed to configure a device as RetorPie informed me that I did not have a gamepad configured. As I didn’t have a gamepad to hand I decided to use a USB keyboard to get going. After configuring up, down, left, right, start, select etc… RetroPie was able to start up. At this point I had no roms installed so all I could do was edit the configuration.
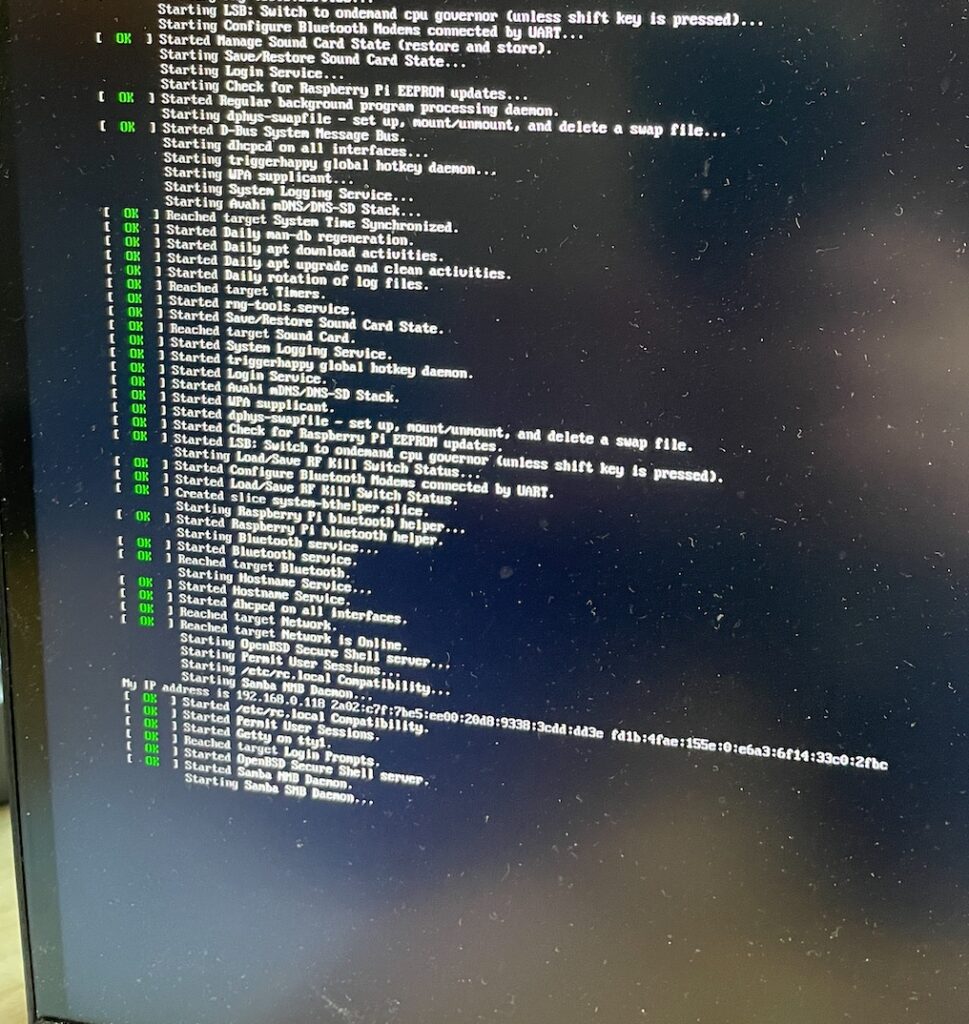
One of my initial goals was to set up Wi-Fi and SSH as to get this up and running I’m using a 4K display which I need to squint at to see the text when I want to break out to the shell:
Actually setting up Wifi and SSH can all be managed through the RetroPie configuration:

To configure Wi-Fi go to the option at the bottom and you will need to provide SSID and password – that’s it!
Enabling SSH is through the RASPI-CONFIG section – you can also configure Wi-Fi here as well if you prefer. The option to enable SSH is 3 Interface Options
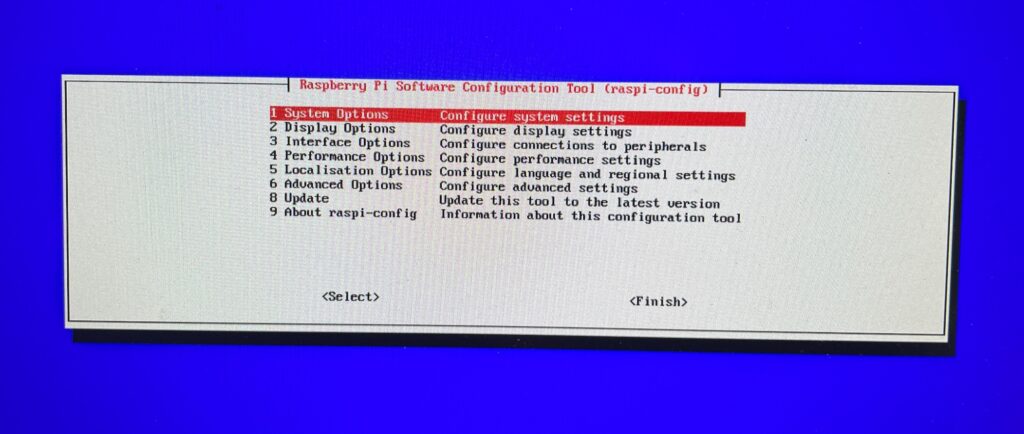
Select P2 SSH and select that you would like SSH Server to be enabled
With that done you should update the pi user password, taking not of the weak password warning.
To do this go into 1 System Options and then S3 Password, where you will be asked to input your new password twice.
When done, you can select Finish to exit and return back to RetroPie configuration.
Recap
So now we have completed the following:
- Burnt a RetroPie image to Micro SD Card
- Booted and configured RetroPie to connect to Wi-Fi
- Enabled SSH for remote configuration
Which leaves the following to-do:
- Connect a USB HDD to host games
Connect to WifiEnable SSH for remote administration- Install MiniDLNA – to host music files for home streaming
- Install SMB or similar – to enable uploading of ROM’s
Next Steps
The next steps to building the Raspberry Pi Arcade are to copy some roms to RetroPie and test – I’ll be doing this by plugging in a USB device and transferring over SSH.
Once that has be achieved I will then be looking at plugging in an external HDD. I haven’t done this yet as I was getting an under voltage error message, so didn’t want to try and power a disk until the power supply was adequate. Following this, I will be enabling DLNA and setting up the media server aspects of the Raspberry Pi. With the Pi 4 all setup, I will then start doing a bit of 3D modelling for the case – as I’m currently waiting on the display I will not be printing out a case until I have all of the bits for the arcade machine.
One Response
[…] got a functioning RetroPie sorted in Part 2, the plan now is to move to the next stage of my 3D printed arcade machine. The plan for this is […]