Having got a functioning RetroPie sorted in Part 2, the plan now is to move to the next stage of my 3D printed arcade machine. The plan for this is to:
- Copy and test some ROMs
- Configure a gamepad / joystick
- Look at hosting games on external USB drive
- Prototype some of the 3D printed case elements
This feels like enough to be getting along with.
Copy and Testing ROMs
As mentioned in Part 1, I will be taking my ROMs from the Micro SD card which came included with the ANBERNIC RG351P handheld console. I’ve previously spent some time organising the ROM list and I’m always a bit wary of downloading ROMs from the internet. So after a bit of trial and error, I inserted the Micro SD into a USB adaptor, found the drive and then attempt to copy a folder at a time to the RetroPie/roms location. This did result in some mixed results following this approach as some of the folders (such as Dreamcast) were large and took a very long time to copy. Doing this from the command line meant there was no visual feedback:
Sudo cp -R /media/usb0/Dreamcast /RetroPie/romsThe -R makes the cp (copy) command recursive, so the folder and any sub-folders are copied at the same time.
This process was more suited to the SNES and Mega Drive folders, which had around 40Mb of ROMs included in each folder.

In future I will shutdown RetroPie, remove the MicroSD card and copy ROMs using a desktop OS. This would be a bit more effort – but worth it as you get better feedback. Anyway, as I intend to home my ROMs on an external USB drive, I figured having a small selection of ROMs for testing purposes was adequate and gave up trying to move everything via the command line.
Configuring a Gamepad / Joystick
Next up, I needed to find a gamepad and dig out the arcade joystick I had purchased for the original attempt at creating a tabletop arcade machine.
Configure through the menu by clicking the B button when in the home screen.
RetroPie is smart enough to identify a new controller is present and asks you to cycle through the process of configuring the buttons. I did this for the gamepad (which is not in bits) and the arcade joystick. Neat.

External USB drive
RetroPie has a really useful guide on how to host roms on an external drive. You can follow the process here:
https://retropie.org.uk/docs/Running-ROMs-from-a-USB-drive/
The copy process was simple enough, following the guidance of doing this whilst the GUI wasn’t running.

3D Printed Arcade Machine Prototype Printing Bits
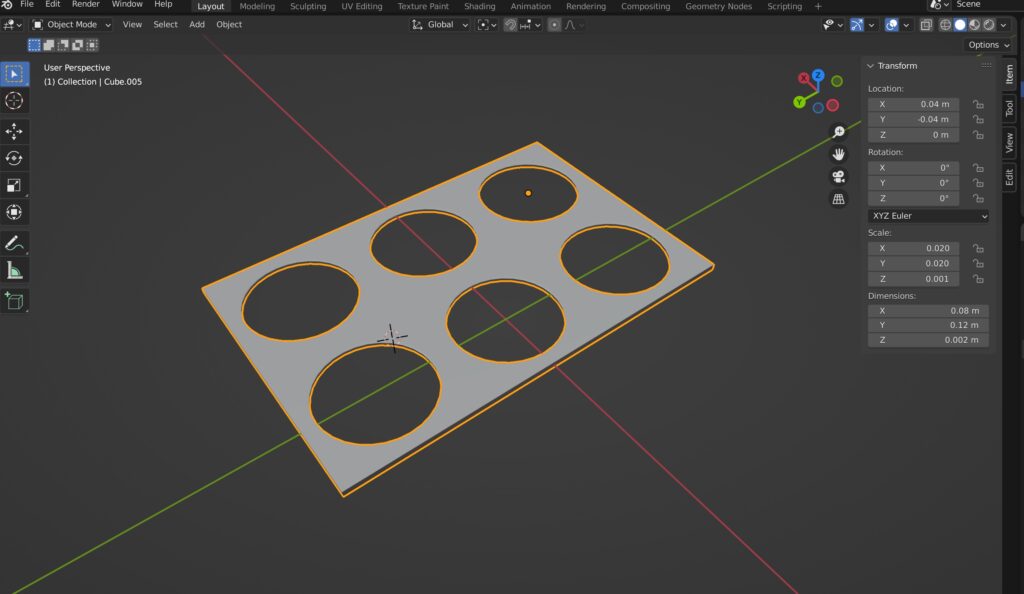
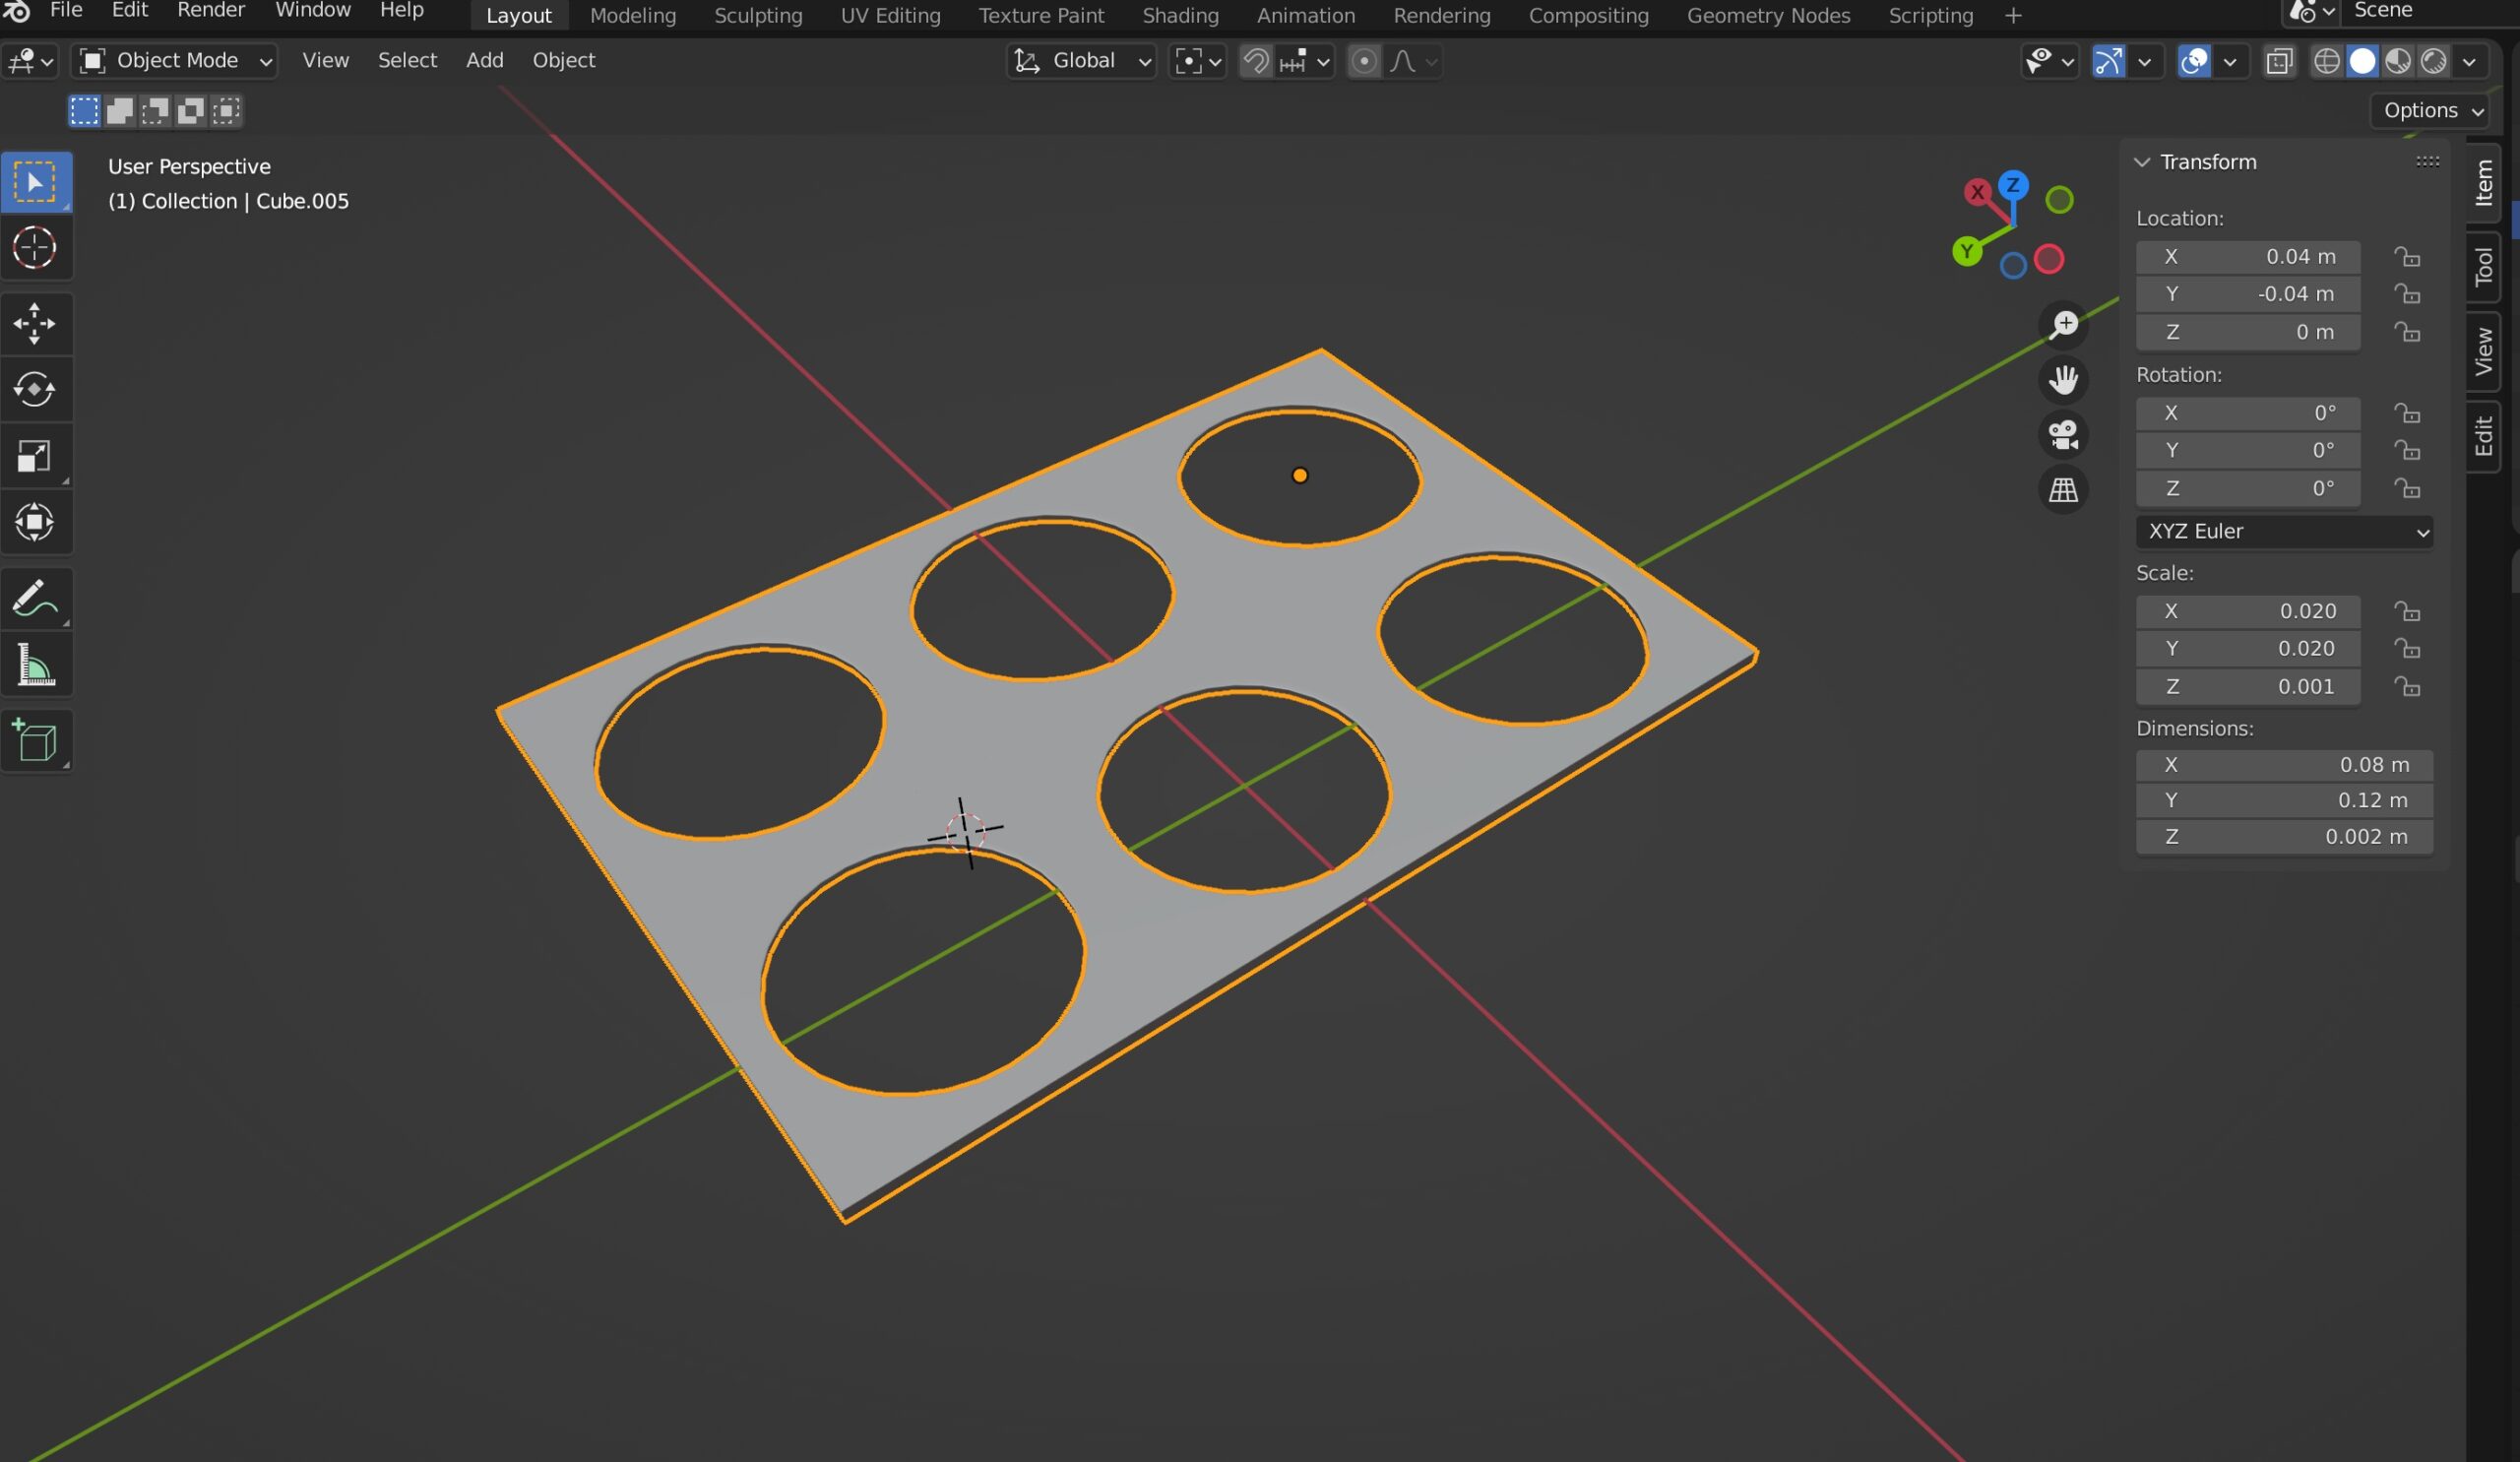
Things are starting to come together with the RetroPie 3D printed arcade machine. I’ve decided that I need to model and print out some prototype parts. These will ultimately be merged together for a final series of prints. The first in this series is the arcade joystick button housing. It’s a pretty simple rectangle with 6 holes for the buttons to be seated in. Here’s what the first print looks like:
I’m glad I took this approach, as printing this on low quality took around an hour. When I seated the buttons, the holes were too tight, which warped the PLA. I went back, added 0.5 mm to each of the button holes and re-printed.
My next test print will include the hole for mounting the stick of the joystick. This should help to prove the relationship to the buttons and give me a semi-working USB arcade joystick.
Next Steps
The majority of the next steps are to model and print the case. I’ve decided to do all of this work in Blender and the next step will focus on this progress.
Top of mind, the next things on the list are to:
- Model and print the whole joystick panel
- Work out an internal fixing for the Raspberry Pi 4 and Heatsink inside the printed cabinet
- Create a shape for the majority of the cabinet housing
I will finalise when the screen (shipping from China) and it’s driver board arrives. When I have that, I should have all of the parts and a few more fixings and design challenges to overcome.
No Responses