
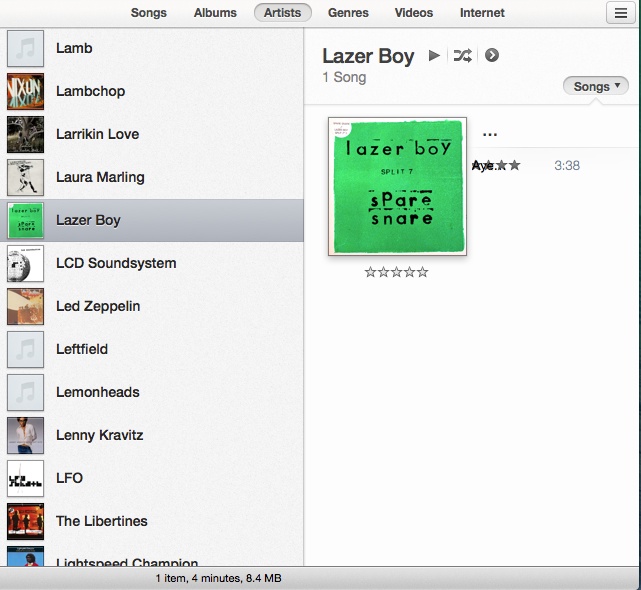
When Apple revised iTunes into version 11 they made it a little harder to manually add your own artwork to music files it manages. The good news this is still available as an option and this article will show you how to add these yourself.
Before you start adding your own artwork it’s always a good idea to see if iTunes will deliver this automatically. To do this just right click on a blank artwork and then click on Get Album Artwork. This should work for most material but if you have more obscure stuff (like recorded 7” records) then you will have to add this yourself.
Process
The following steps walk you through the process of adding your own. Before you go through this make sure that you have an image that you want to work with. This can be downloaded from the internet, Amazon or a photo from your camera.
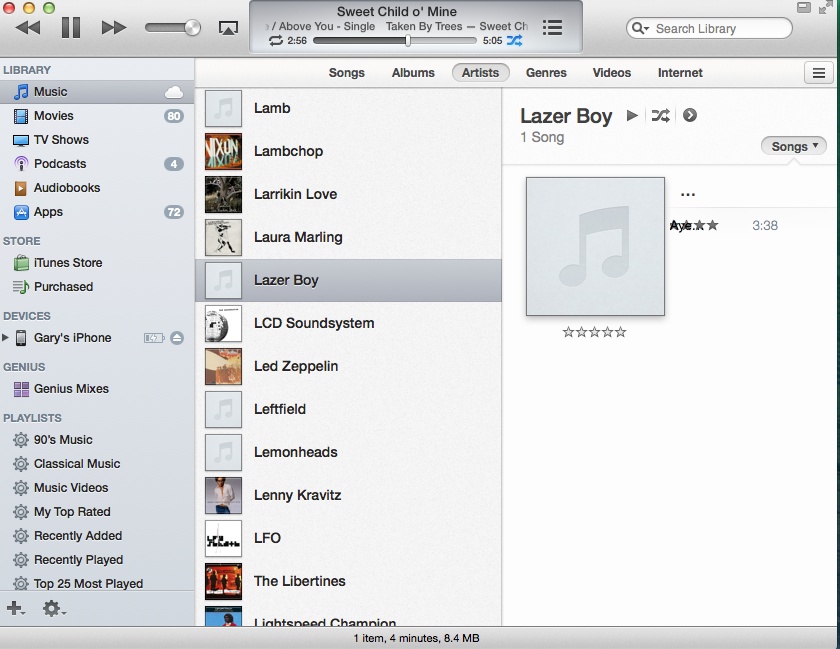
1. First off you need to select a track or album which is missing artwork
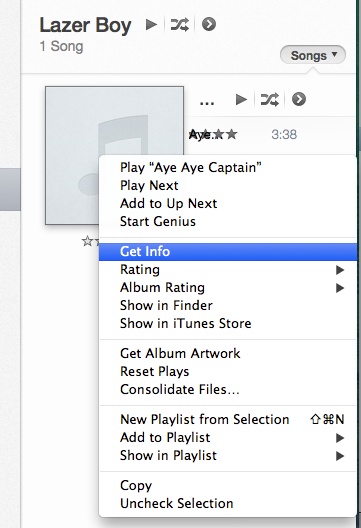
2. With a track chosen, right click on it and then select Get Info
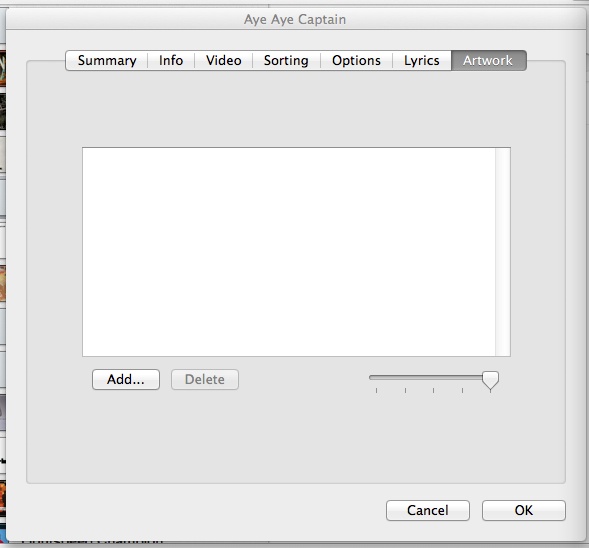
3. Go to the artwork tab
4. Drag over your selected artwork from either iPhoto or Finder – I keep all of my images in iPhoto as it does a pretty good job of organising them
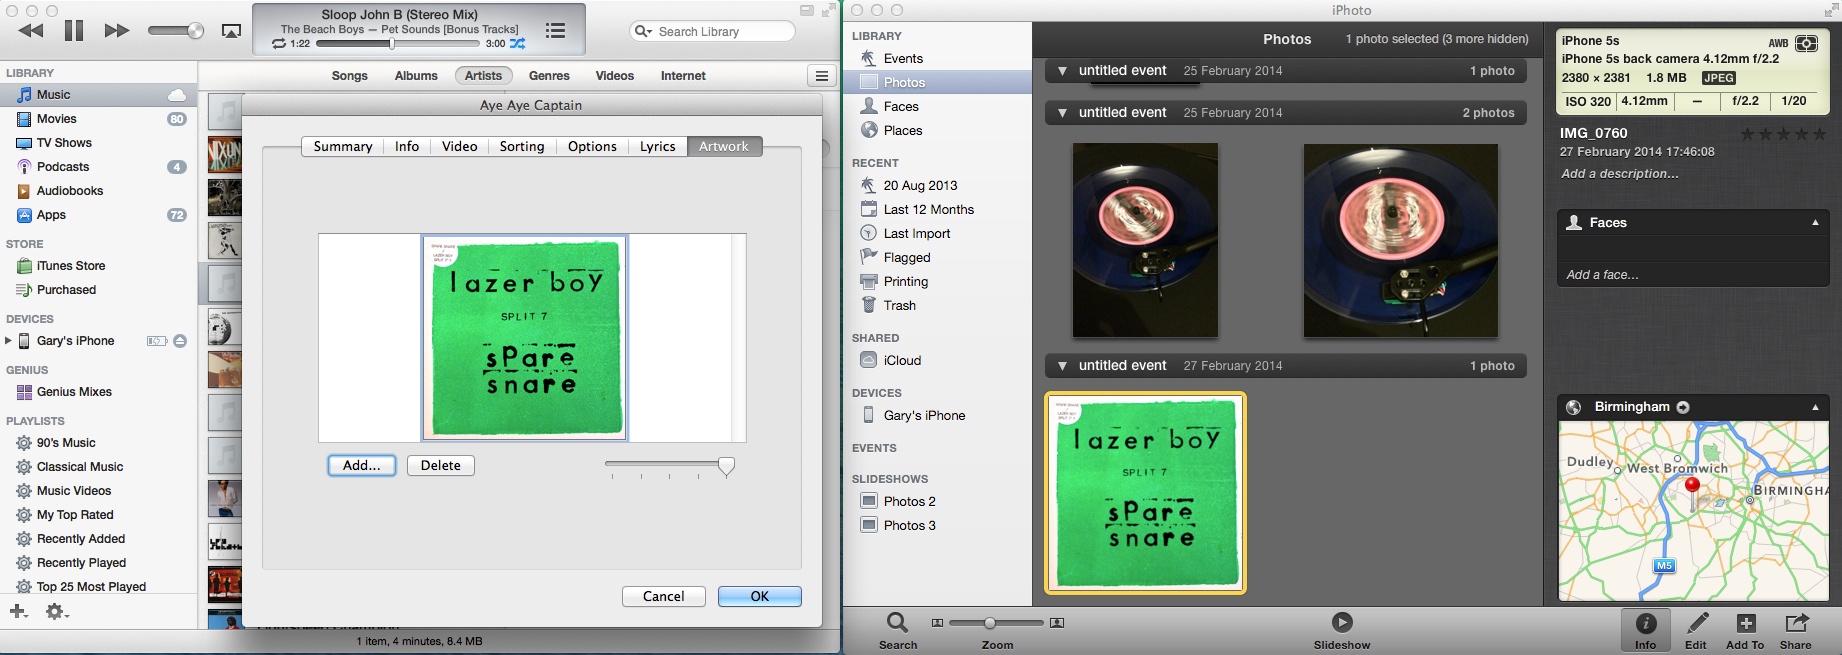
5. Click OK
6. Now your artwork is associated with the track or album you choose in step 1
iPod, iPhone and iPad
If you now sync these tracks to your iPod, iPhone or iPad then the images get pulled along with them. So you no longer have to put up with the default grey and text any longer.
iTunes Match
Apple also pull these images to the cloud if you are an iTunes Match subscriber so you can just let things sort themselves out – which is cool.
What do you think?
Is this something that you do or are you happy with the grey background and text? Or have you come up with a neat way of doing this work by bulk? If so I’d love to hear from you.
No Responses