Installing Raspberry Pi OS has been covered many times elsewhere, this guide has been written not to replace these. Instead it is a foundation for my projects and figured it would be good to have this documented. To start off with you will need a Raspberry Pi, SD card, card reader and a computer with Raspberry Pi Imager. In essence the process is:
- Download latest Raspberry Pi Imager software
- Select settings, which include Wifi details and SSH enabled
- Burn to SD card
- Boot up from fresh install
- Test SSH access
I’m going to be doing the computer work on a Macbook Air M2. You should be able to follow most of these steps on a Windows device, but will probably need to install PuTTy to access your Pi via SSH.
I’ve recently purchased a SanDisk Micro SD card from Amazon – it has 64GB of storage and was pretty cheap. Having used plenty of SanDisk cards with Raspberry Pi I can recommend you use one of these if you are not sure:

Download Raspberry Pi Imager Software
From this link, you can download the Pi Imager Software:

Once the file has been downloaded, you copy the Raspberry Pi Imager icon over to Applications

You may be asked to authenticate when you first open Raspberry Pi Imager – put in your username and password as requested. You will be presented with three buttons which you need to complete in order:
- Operating System
- Storage
- Write
First off click on Operating System and I’d suggest to click on the ‘port of Debian Bullseye with the Raspberry Pi Desktop’:

This will give you a relatively lightweight install without loads of apps installed. You can, install what you need…
Once you’ve selected OS, you can select your storage to install onto. If you haven’t done so already make sure your SD card is inserted:
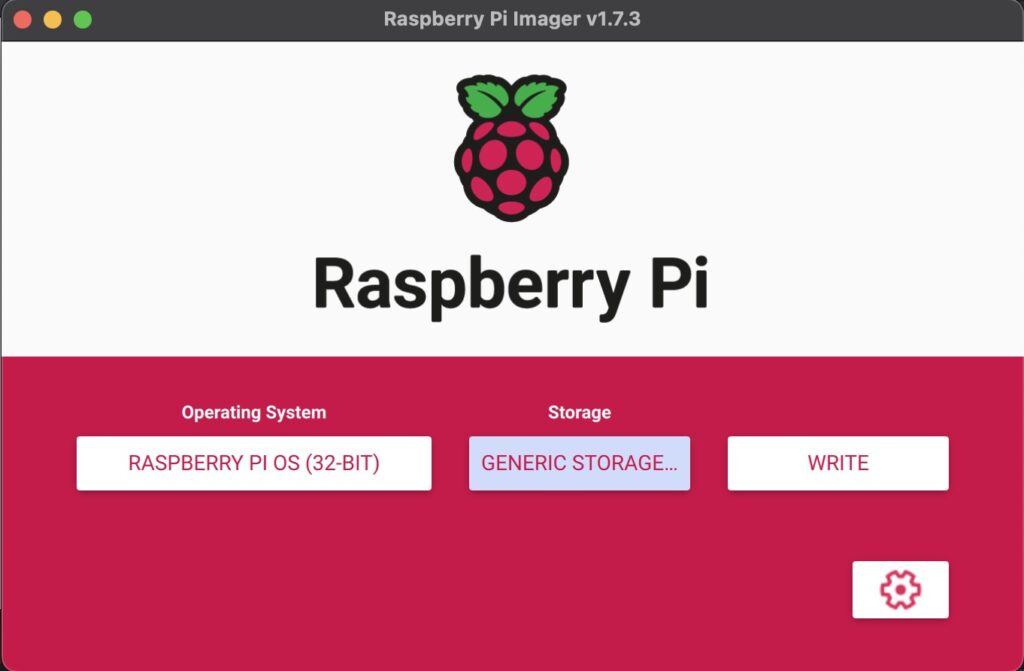
Before you click on Write, make sure to click on the cog in the bottom right hand corner and then set the hostname, enable SSH and set your wifi details:
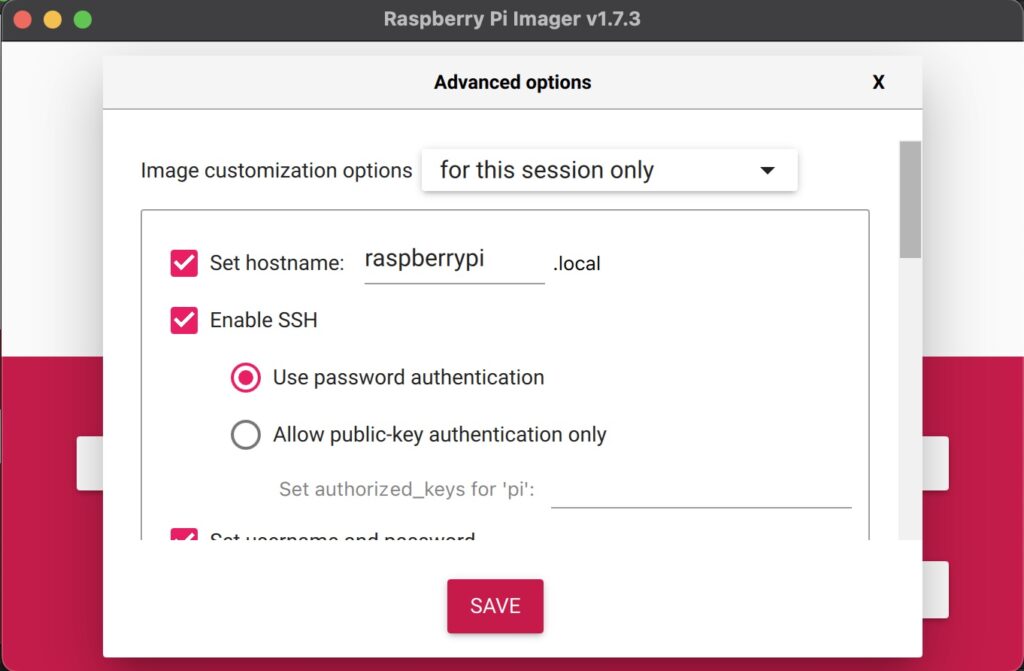

Installing Raspberry Pi OS – Click on WRITE
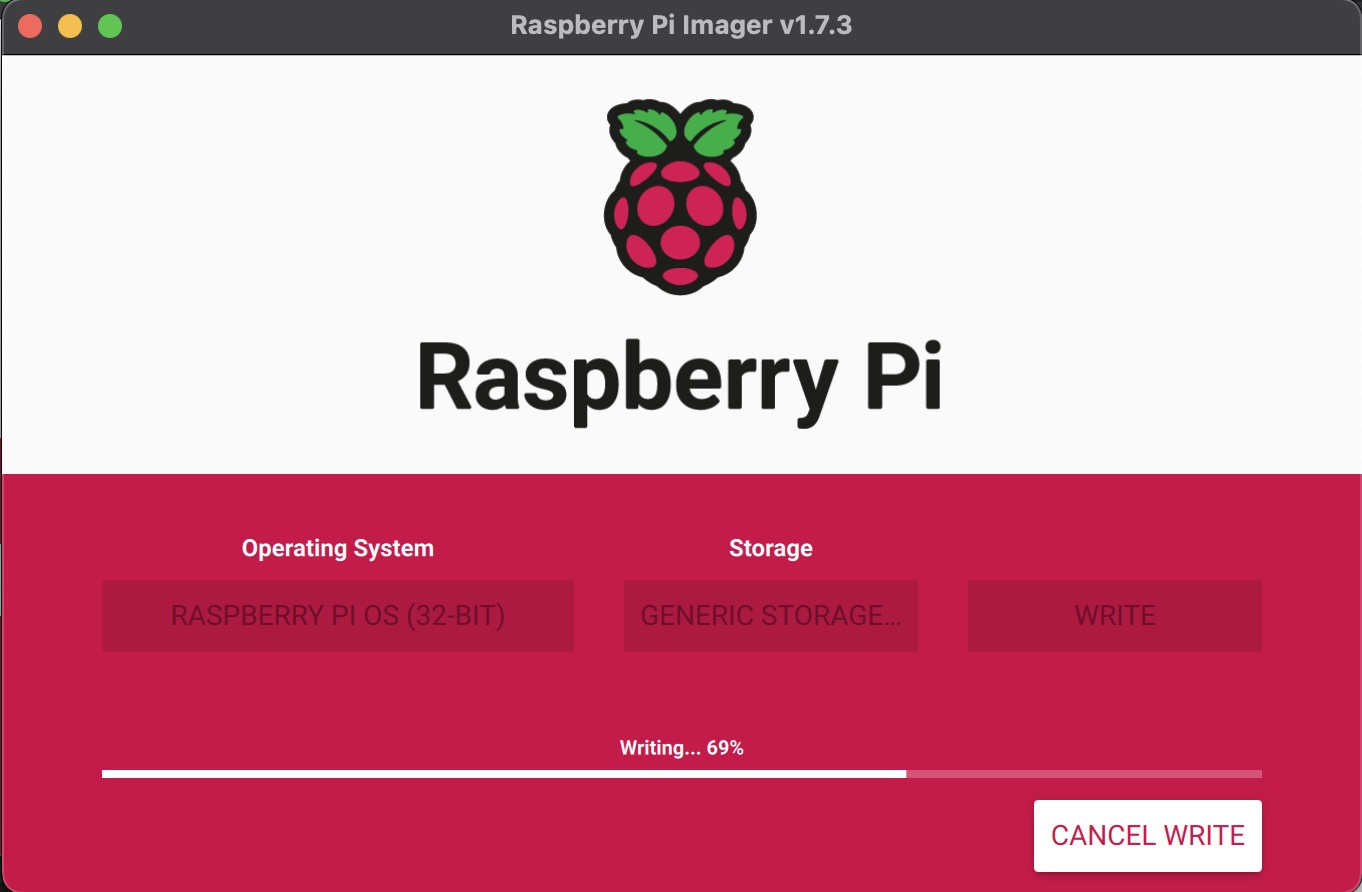
When you click on save you can now press WRITE. This will bring up a dialague which shows the OS is downloading to your SD card:

That’s about it for part 1. Depending on your internet speed, this whole process should take less than 15 minutes. In part 2 I’ll be checking everything works and connecting to via SSH…
No Responses